

Installing the Cookie Consent Management Platform
Learn how to install the Ours Privacy Cookie Consent Management Platform with a simple script tag, verify it's working, and start managing consent on your website.
Installing the Cookie Consent Management Platform
Setting up your CMP is fast and easy. Just follow these steps:
Step 1: Copy Your Install Script
In your configuration under Install & Setup, you'll see an installation script tag like:
<script src="https://cdn.oursprivacy.com/cmp-init?token=YOUR_TOKEN_HERE"></script>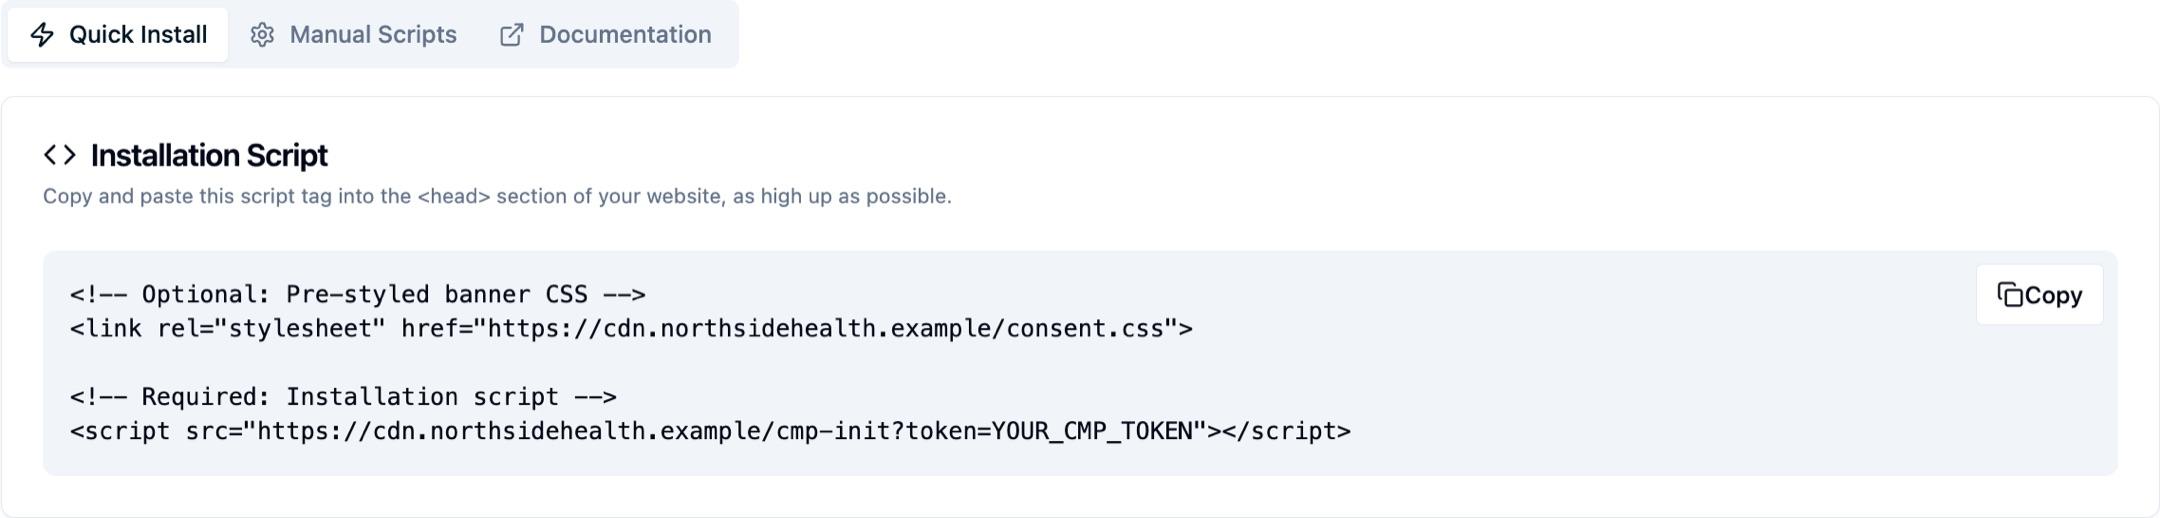
The panel also offers an optional pre-styled stylesheet <link> you can include if you want the default banner styling.
Step 2: Paste It Into Your Website's <head>
Add the script tag as high as possible in your site's <head>. This ensures it runs before other tracking scripts and can manage consent blocking correctly.
Step 3: Publish Your Configuration
Make sure you've saved and published your CMP configuration in the dashboard.
Step 4: Verify the Banner
Load your site and confirm that the consent banner/modal displays correctly. Test acceptance, rejection, and preference management to ensure it meets your requirements.
Important: Place the script before any other analytics or advertising tags so it can block them if the user hasn't consented.
Note: If you have a custom domain configured for your Ours Privacy account, you can load the Ours Privacy consent management platform from your own first-party custom domain as well.
Next Steps
- Styling & Customization: Customize the look and feel of your consent banner
- General Settings: Configure categories, vendors, and consent modes
- Script Blocking: Set up automatic and manual script blocking
How is this guide?