

Creating and Managing Triggers
Guide to creating and managing triggers in the Ours Privacy Tag Manager, including conditional triggers and a list of the most popular trigger types.
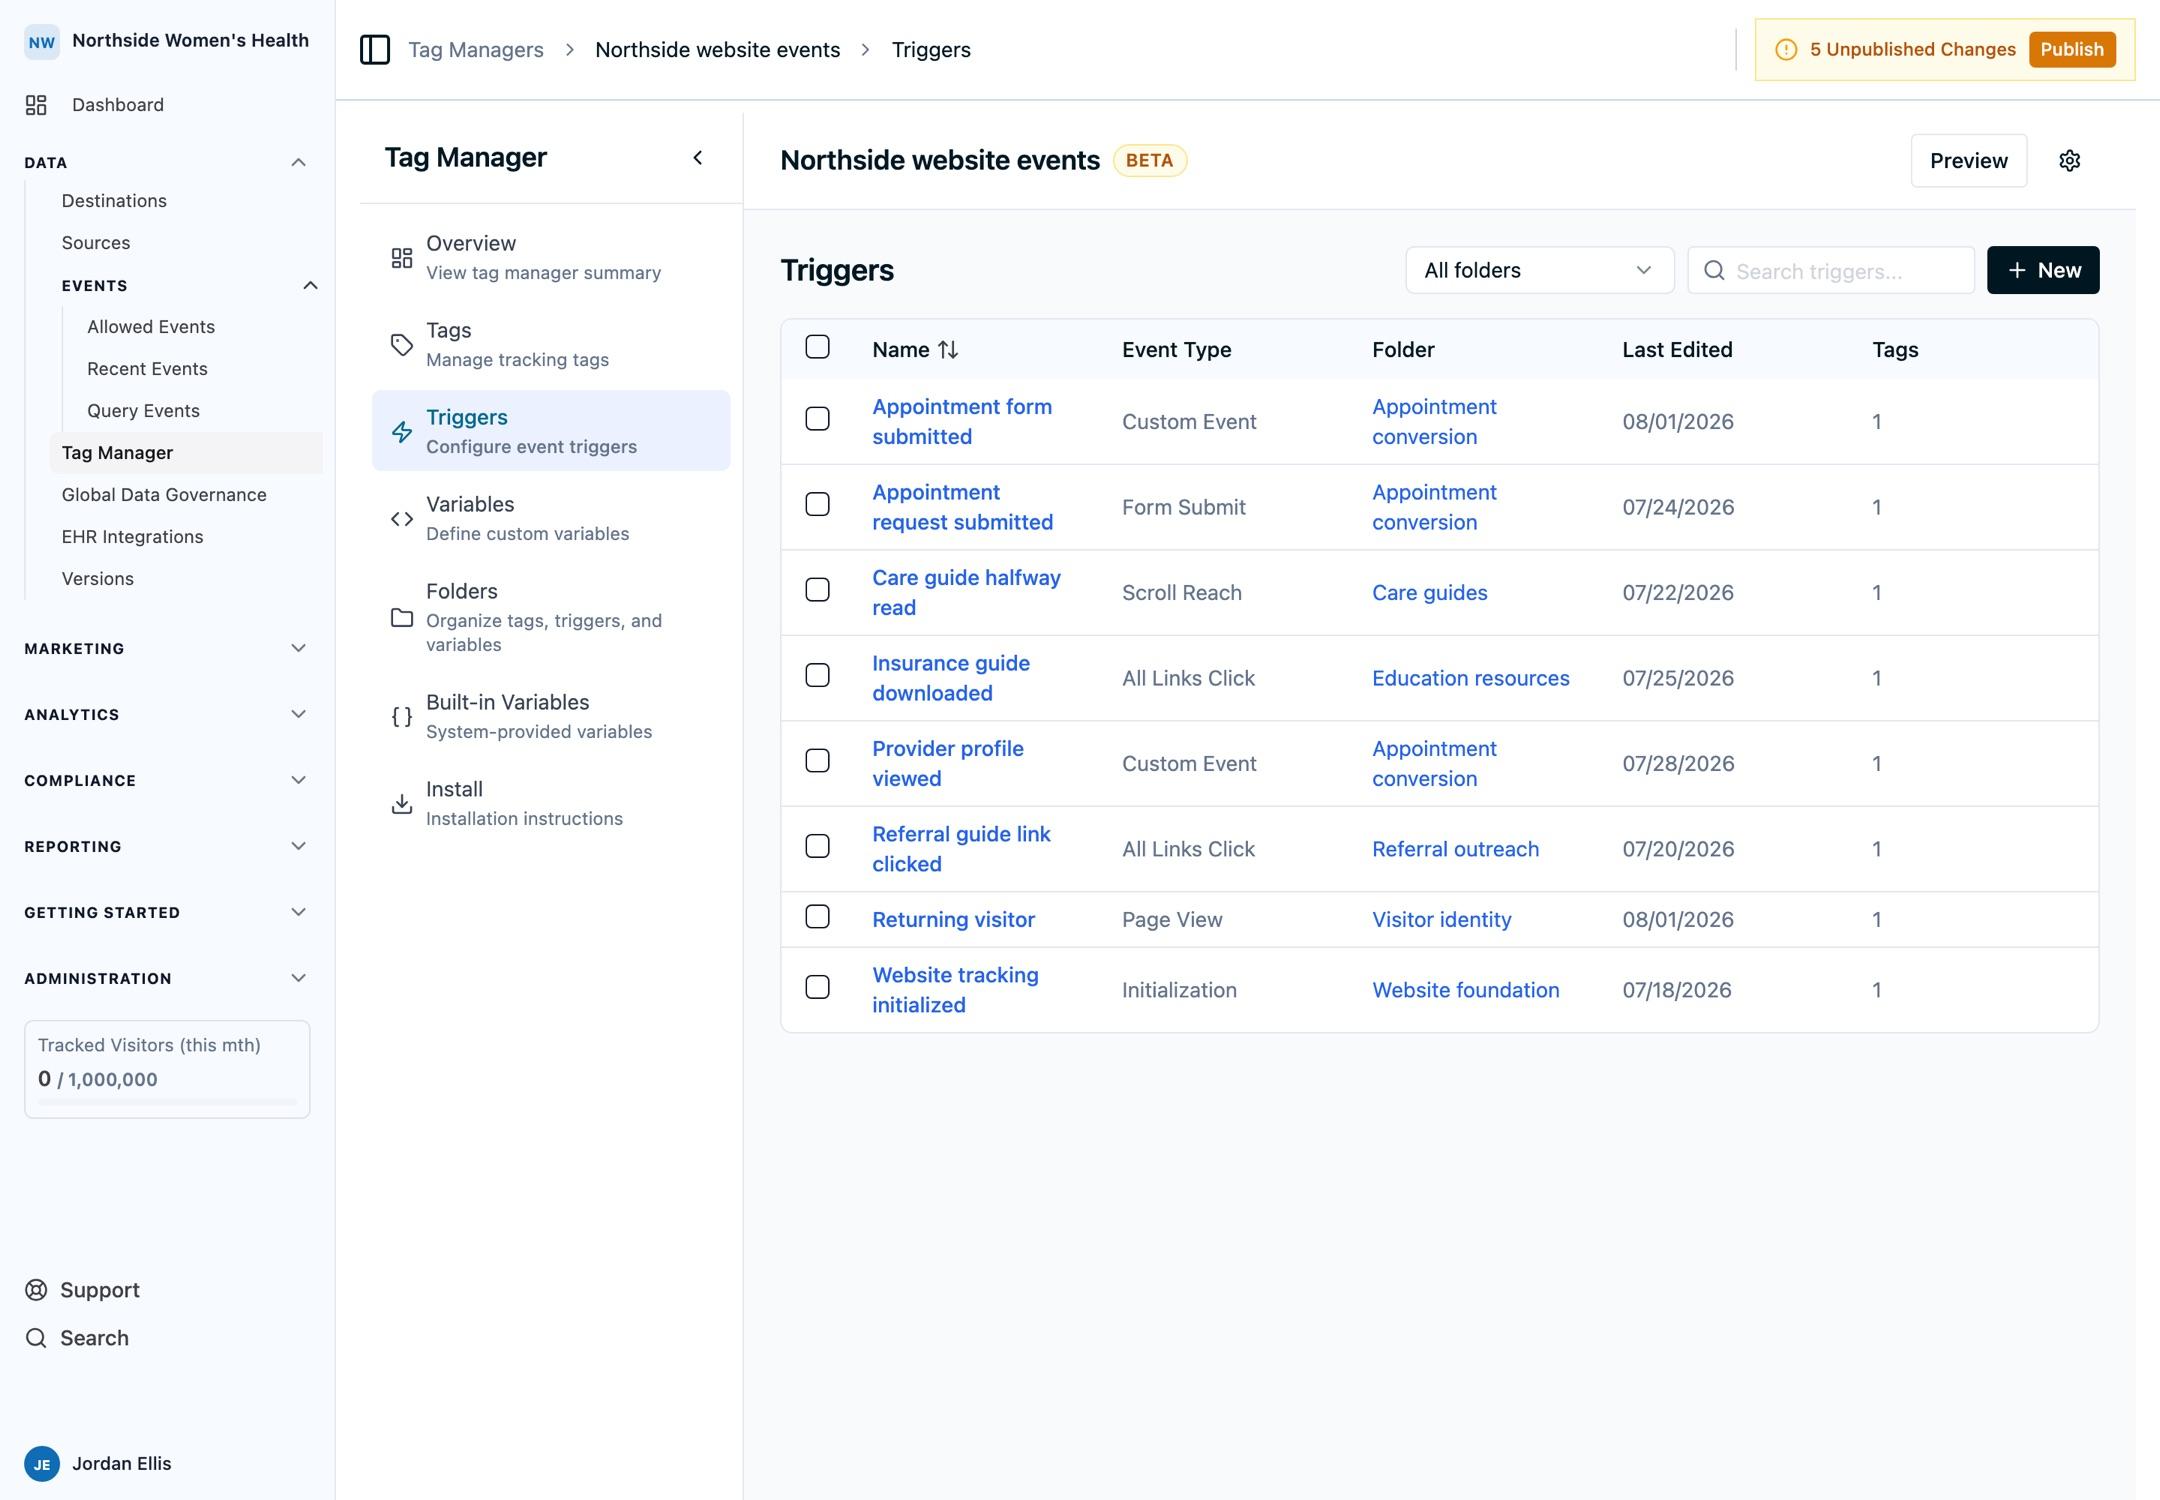
Triggers define when your tags fire. While tags determine what to track, triggers control the timing and conditions. With triggers, you have a no-code way to control exactly when events are sent to Ours Privacy based on user interactions and behaviors.
How Triggers Work
Triggers follow a simple workflow:
- Create a trigger and set its conditions (e.g., "when a button is clicked" or "when the page loads")
- Connect the trigger to one or more tags when configuring your tags
- When the conditions are met, the connected tags automatically fire
- One trigger can activate multiple tags, making them reusable and efficient
This separation of "what" (tags) and "when" (triggers) gives you powerful, flexible control over your tracking.
Track an On-Page Interaction Through the API
Create a browser tracking workflow with the Platform API: emit a data-layer event when an interaction happens, create a matching trigger, and attach it to a Track tag. Work in a sandbox or preview container first, and publish only after reviewing the site code and event name.
For example, make a CTA notify the installed Tag Manager container when it is clicked:
document.querySelector('[data-demo-cta]').addEventListener('click', () => {
  window.dataLayer.push({ event: 'demo_cta_clicked' });
});
Create a CustomEvent trigger for that exact event:
{
  "tagManagerId": "TAG_MANAGER_ID",
  "name": "Demo CTA clicked",
  "type": "CustomEvent",
  "parameters": { "eventName": "demo_cta_clicked" },
  "conditions": []
}
Create a Track tag with the trigger ID returned by the first request:
{
  "tagManagerId": "TAG_MANAGER_ID",
  "name": "Track demo CTA clicked",
  "type": "OursTrackTag",
  "parameters": { "eventName": "demo_cta_clicked" },
  "fireTriggerIds": ["TRIGGER_ID"]
}
Verify the workflow in Preview Mode, then publish the two draft changes with POST /rest/v1/versions:
{
  "name": "Publish demo CTA tracking",
  "includeTagManagerTriggers": ["TRIGGER_ID"],
  "includeTagManagerTags": ["TAG_ID"]
}
Make sure the page loads the Tag Manager container and uses its configured data-layer name. Add event properties with Data Layer variables when the tracked event needs context beyond its name.
Trigger Types
The Tag Manager provides 7 main trigger types to cover different user interactions and scenarios.
Page View Triggers
- Fire when a page loads
- Most common trigger type
- Use for: Tracking page views, loading tags on specific pages, initializing tracking on certain URLs
Click Triggers
- Fire when a user clicks an element
- Can target specific buttons, links, or elements
- Use for: Button clicks, link tracking, CTA interactions, navigation events
Custom Event / Data Layer Triggers
- Fire when custom events are pushed to the data layer
- Flexible for custom tracking scenarios and application-specific events
- Integration with custom code and applications
- Use for: Application events, custom user actions, advanced tracking scenarios, events from your own code
To use Custom Event triggers, your code pushes events to the data layer:
window.dataLayer.push({ event: 'purchase', value: 99.99 });Then configure the trigger with the matching event name (purchase). See the Data Layer guide for complete documentation.
Form Submit Triggers
- Fire when a form is submitted
- Automatically detect form submissions
- Use for: Contact forms, lead generation, newsletter signups, conversion tracking
Scroll Triggers
- Fire when a user scrolls to a specific depth
- Track how far users scroll on a page
- Use for: Content engagement, scroll depth tracking, reading behavior analysis
Timer Triggers
- Fire after a specific amount of time
- Can fire once or repeatedly at intervals
- Use for: Time on page, engagement metrics, delayed actions, session duration
Window Leave Triggers
- Fire when a user is about to leave the page
- Detect exit intent
- Use for: Exit surveys, retention campaigns, abandonment tracking, last-chance offers
Using Conditions with Triggers
Most triggers can have additional conditions to give you even more control over when they fire:
- URL filtering: Only fire on specific pages or URL patterns
- Element filtering: Only fire for specific buttons or links
- Variable conditions: Use variables to filter based on user properties, page data, or custom values
- Multiple conditions: Combine conditions to create precise trigger logic
For example, a click trigger could fire only when:
- A specific button is clicked AND
- The URL contains "/checkout/" AND
- A custom variable equals a certain value
This flexibility ensures tags only fire exactly when you need them to.
Connecting Triggers to Tags
Triggers and tags work together to control your tracking:
- Create your trigger first with the conditions you need
- Connect it to tags when configuring each tag (in the tag's settings)
- Reuse triggers across multiple tags for consistent, efficient tracking
One trigger can be connected to multiple tags, so you can define common conditions once and use them everywhere. For example, a "Checkout Page View" trigger could activate multiple tags for different analytics tools.
Testing Triggers
Before publishing your triggers to production, always test them:
- Use Preview Mode: Test your triggers using the Chrome extension before publishing
- Verify firing behavior: Ensure triggers fire at the right time and under the right conditions
- Check connected tags: Confirm that all connected tags execute correctly when the trigger fires
- View in Recent Events: Use the Recent Events dashboard to see events flowing in real-time
Testing ensures your tracking logic works correctly before it goes live to all visitors.
Next Steps
Now that you understand triggers, explore related topics:
- Tags: Learn how to create tags that use your triggers
- Variables: Use dynamic data in trigger conditions
- Publishing & Versions: Understand the publishing workflow
- Examples: See triggers in action with real-world examples
Ready to see triggers in practice? Check out the examples page for detailed implementations.
How is this guide?