

Building an Audience
Create an audience in Ours Privacy, name it for internal use and for export, add visitor and event conditions, preview who matches, and then export or sync it.
Use this page to build an audience from start to finish. It assumes you know what you want to target; if you want the model first, read Audience concepts.
Open Audiences in appImportant: Advertising platforms are not HIPAA business associates and do not sign BAAs. Hashing an email does not make it anonymous. Read Compliance for audiences before sending an audience to any platform.
1. Create the audience
- Open Audiences in the dashboard.
- Choose to add a new audience and give it a name.
- Save. You land on the audience's detail page, where everything else happens.
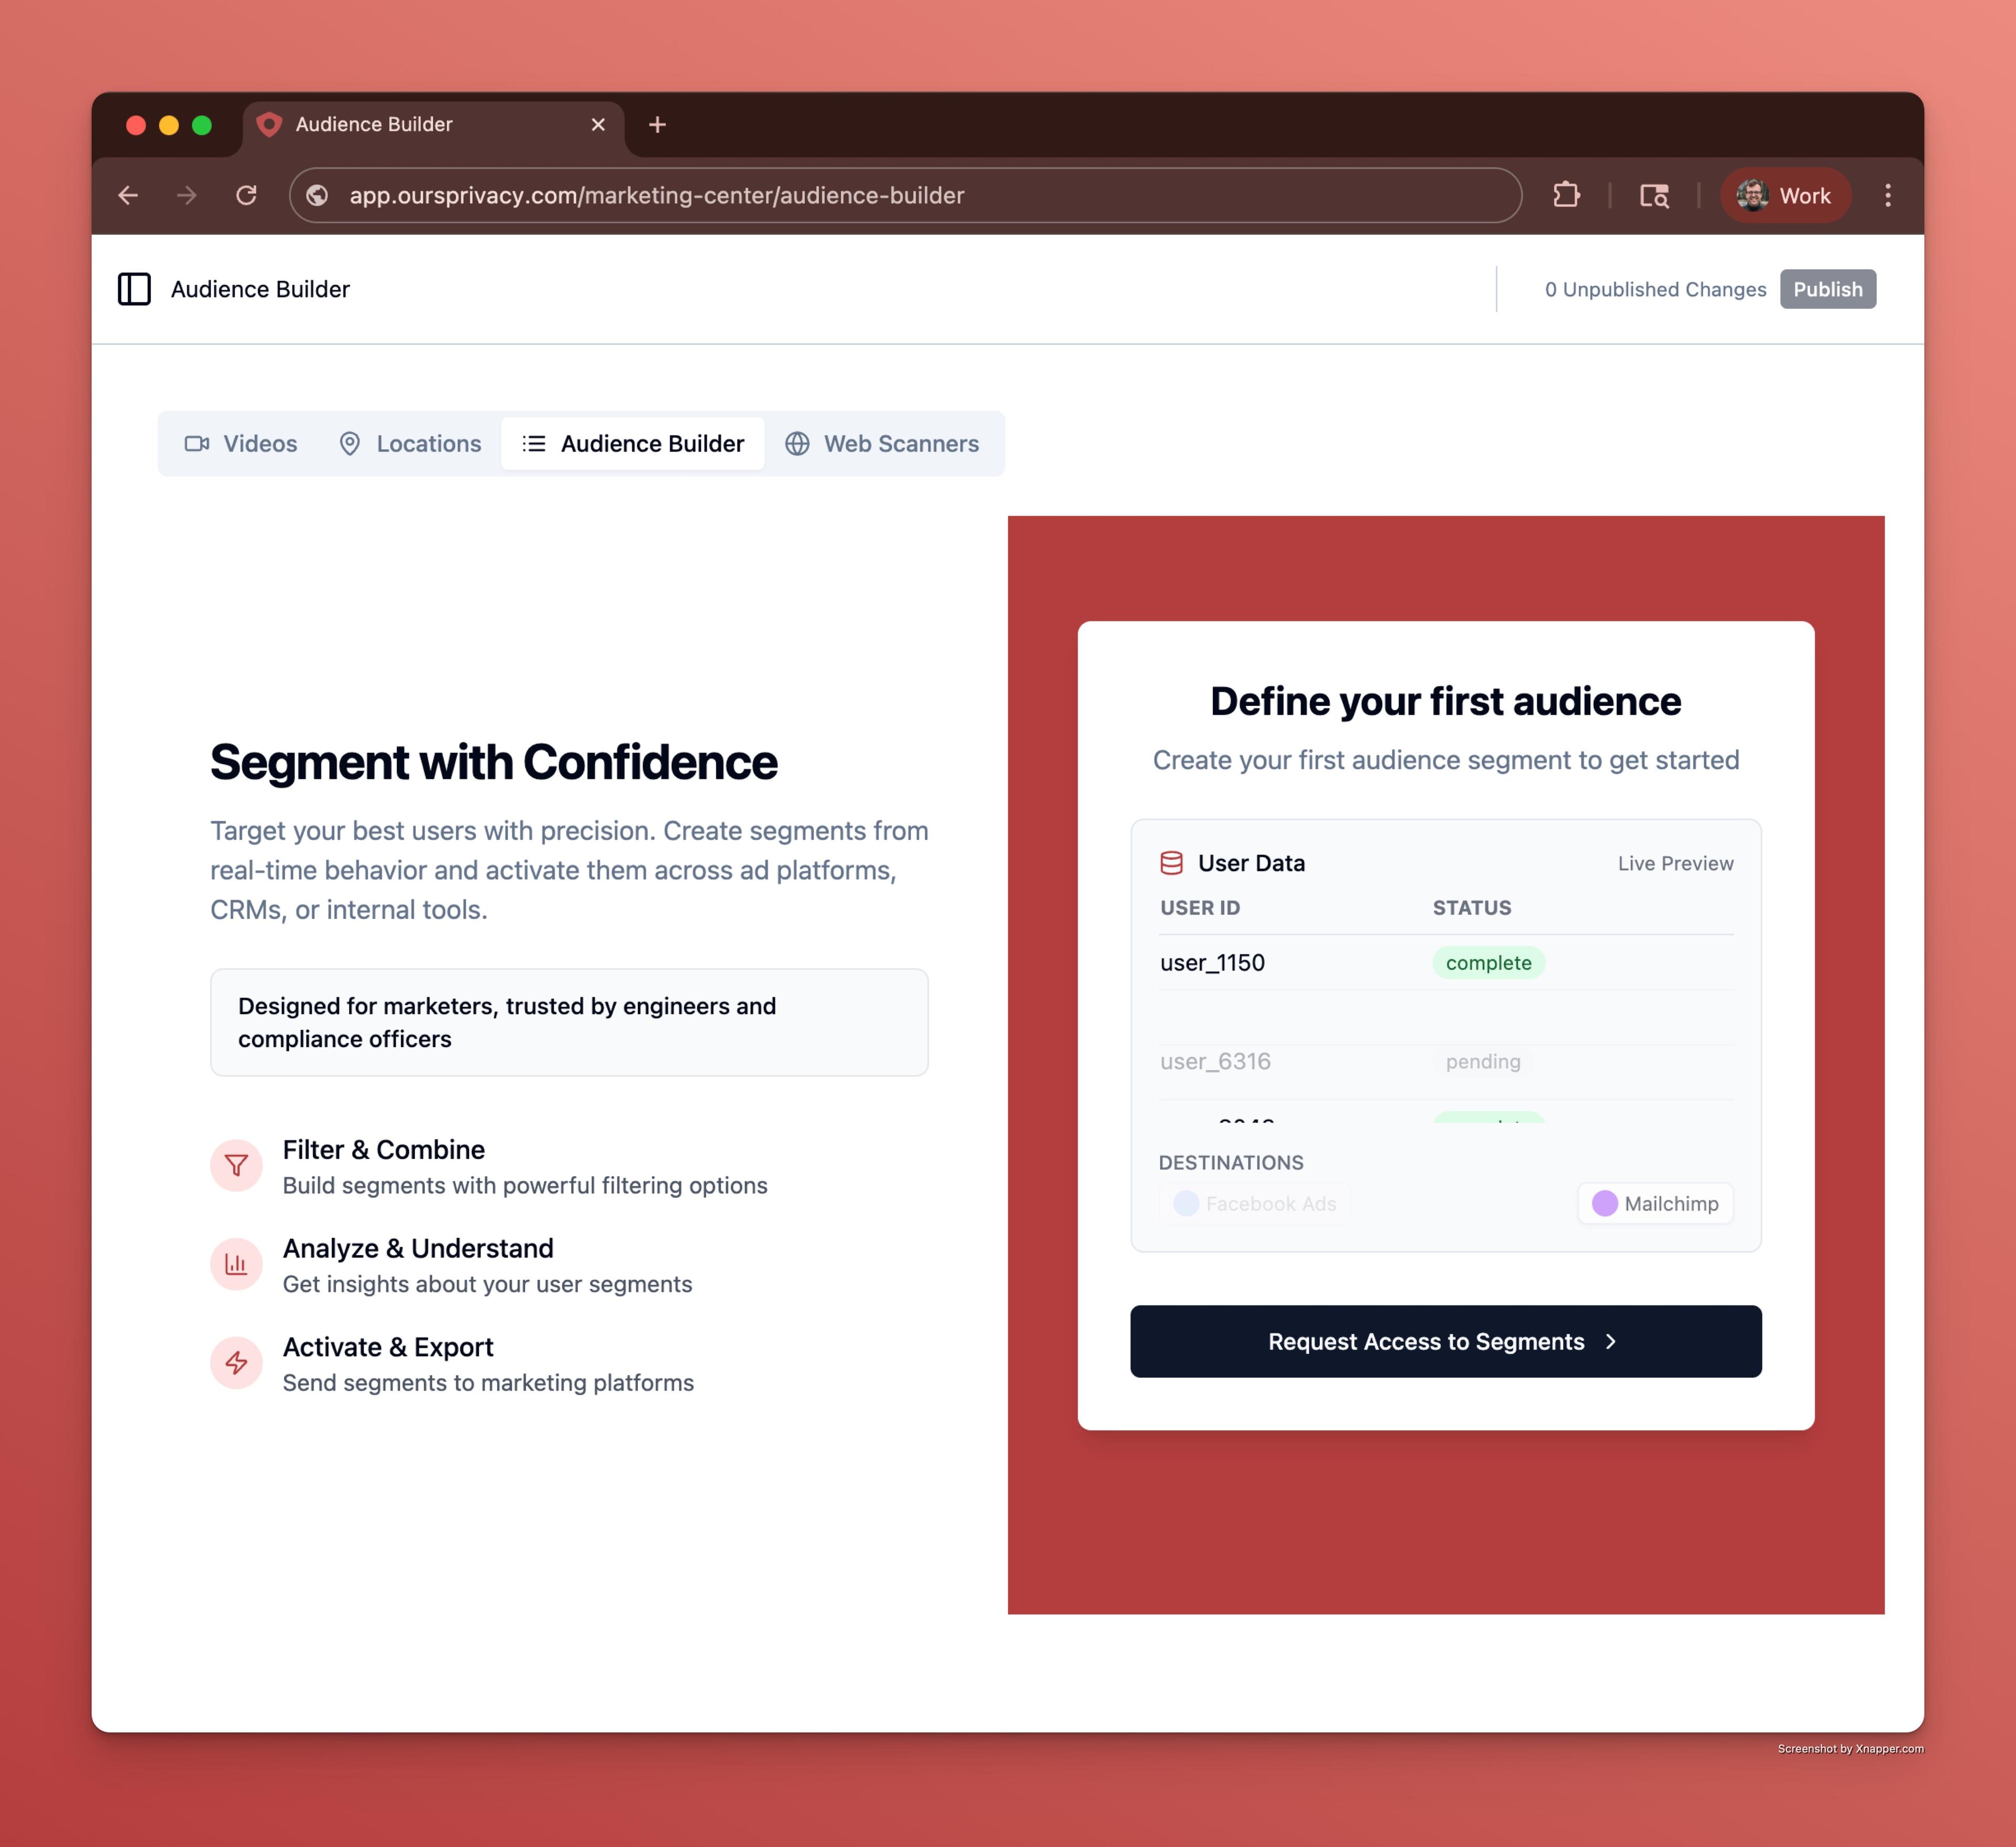
If the page asks you to request access instead, your account does not have audiences enabled yet, or you have reached your account's audience limit. Contact your account representative.
2. Set both names before anything else
Two name fields sit at the top of the page, and it is worth filling them in now rather than at the end.
Name is for your team. Make it as specific as you like: it never leaves Ours Privacy, and a vague internal name is the main reason people later cannot tell two audiences apart. The field's own help text puts it plainly: it is what distinguishes this audience from other similar ones.
Export Name is the label that appears in the file name of every CSV you download and in the advertising platform's own interface for every audience you sync. Press Generate to get a neutral one, or type your own. Do not describe the audience here.
A generated name looks like amber-harbor-drum: three unrelated words. It carries no meaning, which is the point. If you type your own, Ours Privacy will refuse to save a name that carries clinical context. See Export names and Health context in audience names.
3. Add conditions
An audience needs at least one condition. You can use either section on its own or both together.
Visitor Properties
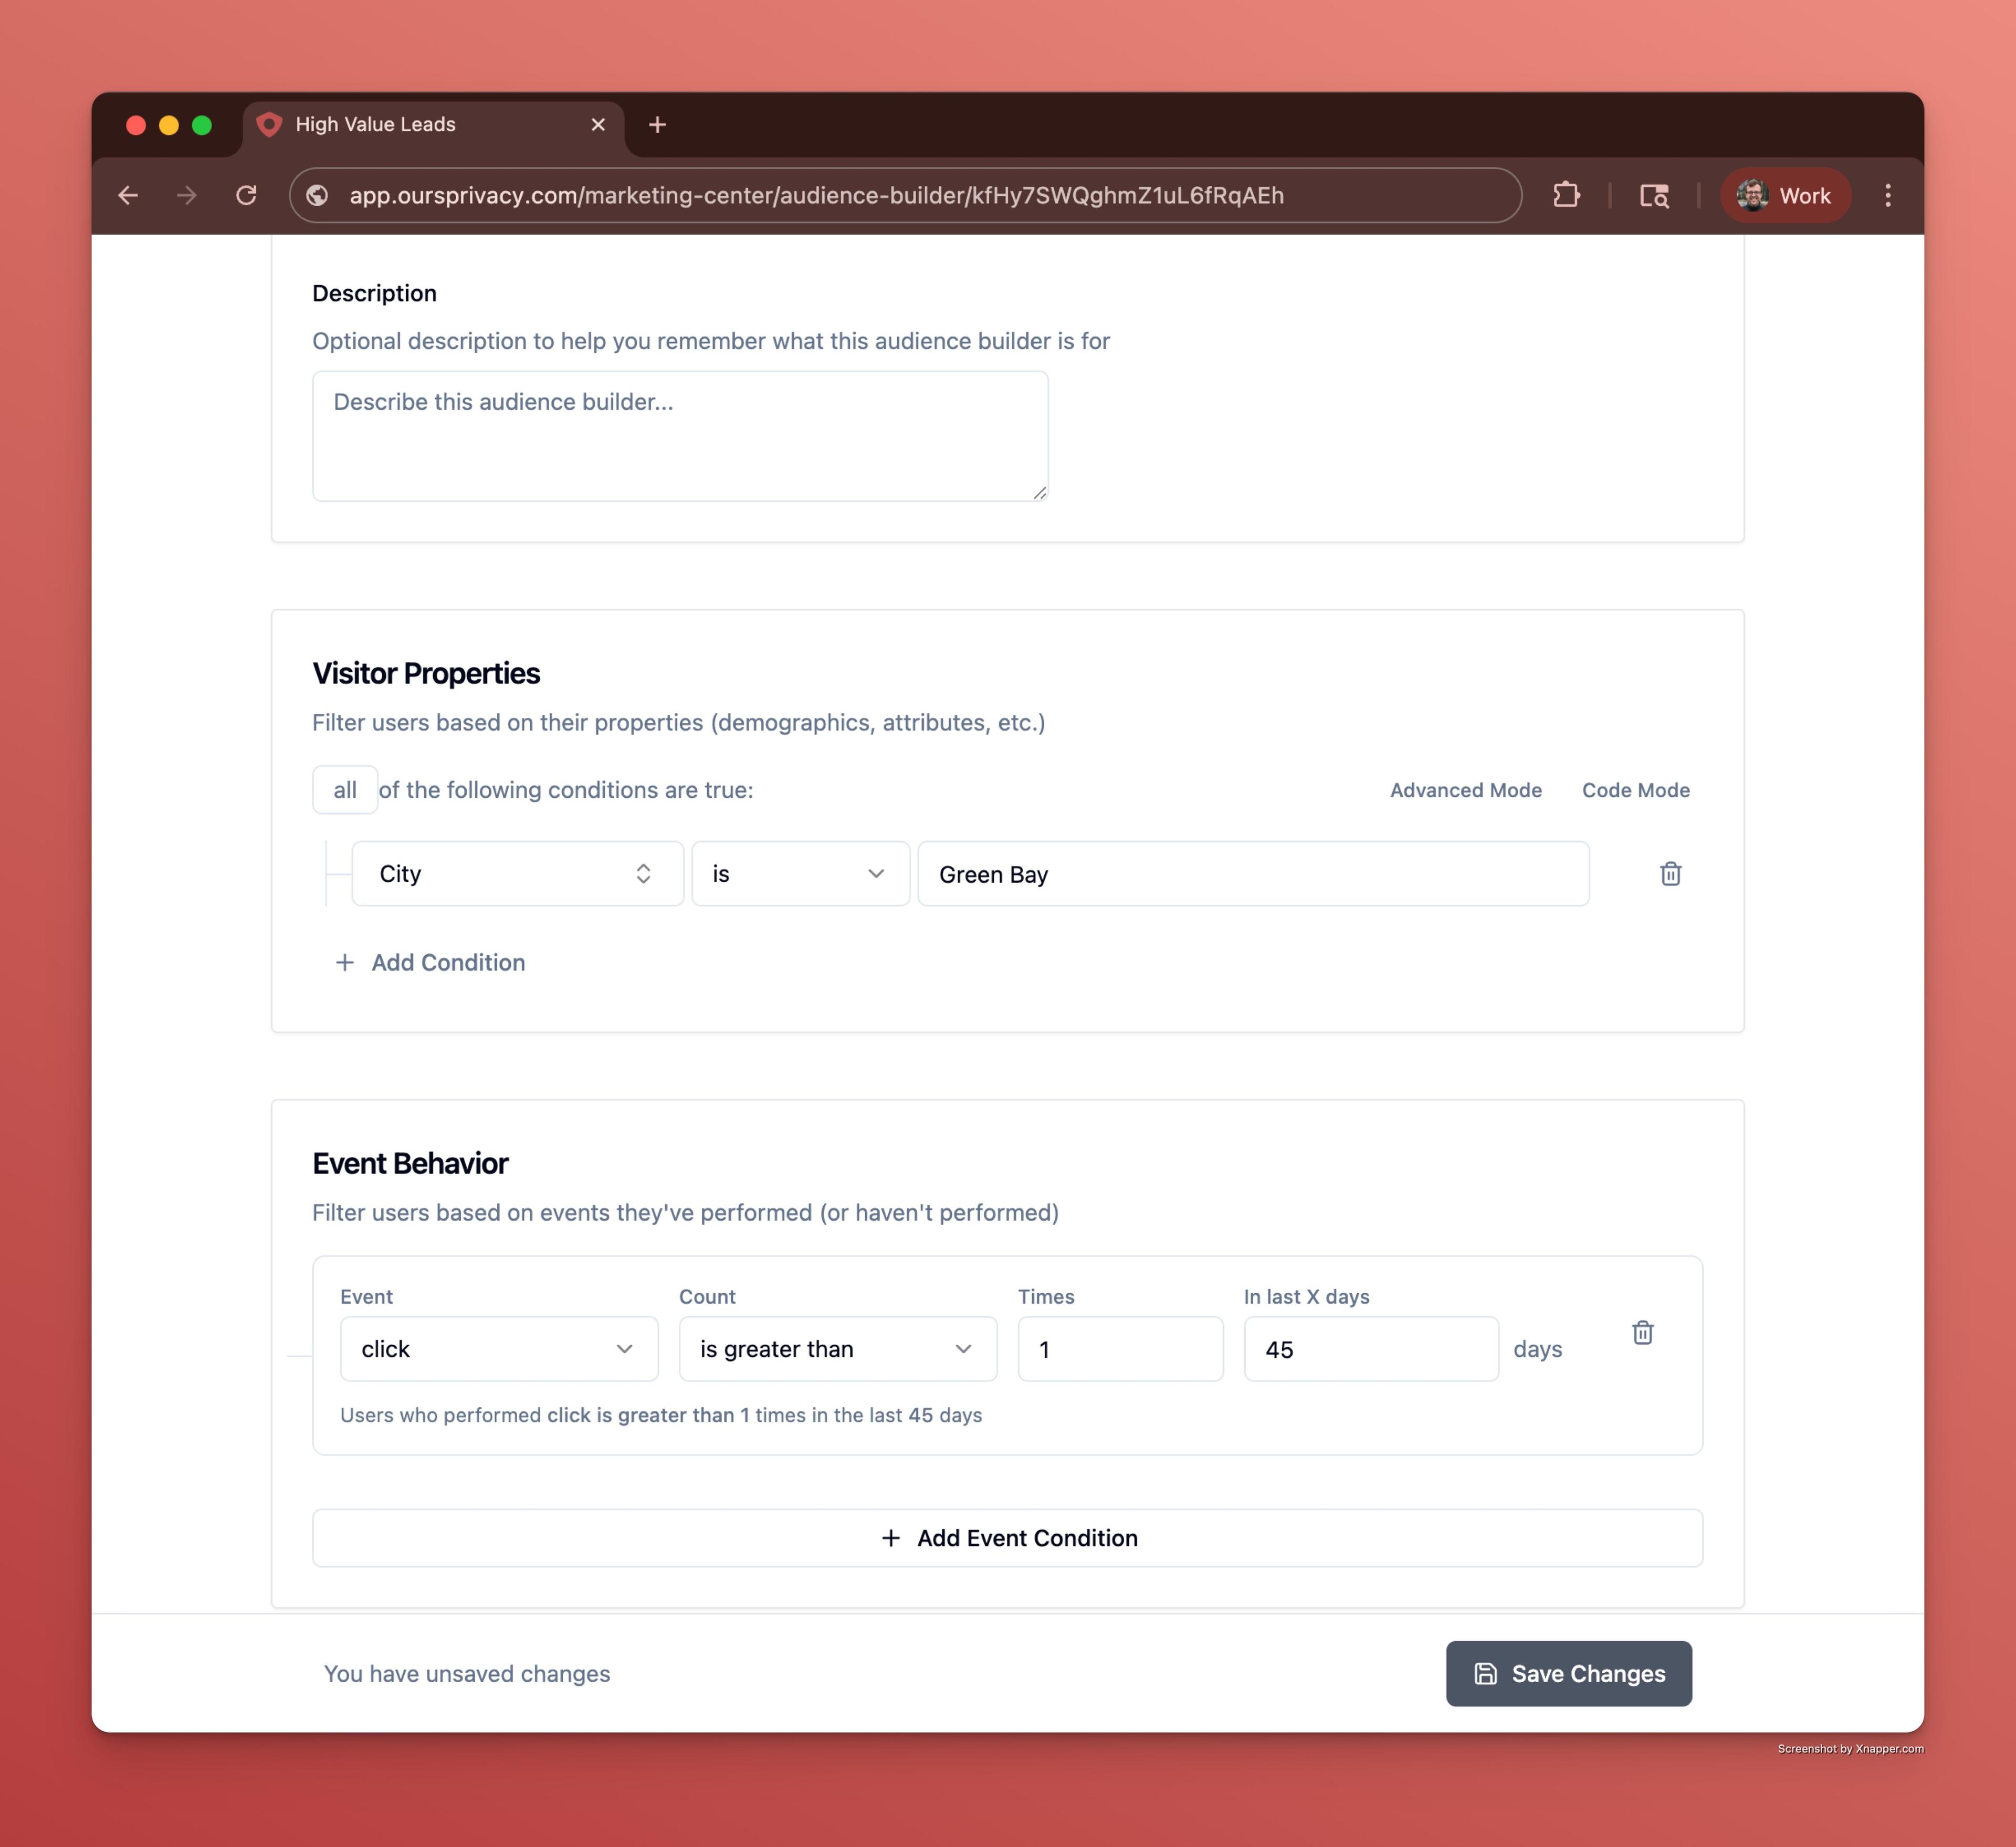
Filter on attributes of the visitor: consent categories, first-touch UTM parameters, city and country, and any custom properties you collect.
- In the Visitor Properties card, add a condition.
- Pick a property, then an operator, then a value if the operator needs one.
- Add more conditions and set the connector between them to AND (narrower) or OR (broader).
A good first condition for anything advertising-related is a consent condition. Excluding visitors who rejected the advertising category happens automatically on a sync, but requiring an accepted advertising category is stricter and is something you add here. See Visitor conditions.
Event Behavior
Filter on what visitors did. Each condition reads as "performed this event this many times in the last this many days," optionally narrowed to the occurrences whose own properties match.
- In the Event Behavior card, add an event condition.
- Pick or type an event name, set the count operator and count, and set the day window.
- Optionally add nested conditions so that only matching occurrences count, for example page views whose URL contains
/appointments.
The count operator is what makes exclusions possible. A condition of zero occurrences means the visitor never did that thing, which is how you target people who browsed but never converted. See Event conditions.
To target the visitors who saw a particular experiment variant, use From experiment in the Event Behavior card. It fills in the right condition for you. See Experimentation.
4. Preview and adjust
Save your changes, then press Preview. You get an estimated count and a sample table of matching visitors showing email, name, city, state, country, first seen, last seen, and consent.
Read both. The count tells you whether the audience is the size you expected; the sample tells you whether the right people are in it. A count that is much larger than expected usually means an event condition has no nested filter and is counting every page view rather than the pages you care about.
Preview needs your changes saved first, so the button waits until there is nothing unsaved. See Previewing an audience.
5. Activate it
Two ways out, and you can use both on the same audience.
Download a CSV. Press Export CSV in the header and pick a format: all fields with raw values for internal use, or a layout formatted and hashed for Google Ads or Meta. The file lands in your browser, and a recent export stays listed on the audience so you can download the same file again. See Exporting a CSV.
Sync it to a platform. In the Sync to Destinations card, accept the data-sharing terms, select the Audience Destinations you want, and save. Membership is then sent daily and each run replaces the previous list. See Syncing to destinations.
Export CSV is enabled only when the audience has a name, has at least one condition, and has no unsaved changes. If it looks disabled, one of those three is the reason.
Managing audiences over time
Duplicate an audience from the audience list when you want a variant. Copying a working definition and changing one condition is faster and safer than rebuilding it, and it is the normal way to produce the "already converted" counterpart to an inclusion audience. Give the copy its own Export Name.
Publish the audience when you want it to run on its own. Publishing requires at least one condition. Unpublishing stops a published audience from being used by automated processes.
Delete removes the audience. Anything you already downloaded stays on your machine, and a synced audience should be stopped from the Sync to Destinations card first so it stops being sent before the definition disappears.
Each of create, edit, preview, export, publish, and delete is governed by its own permission. If an action is disabled and the audience looks otherwise fine, ask your account administrator for the matching access.
Next Steps
- Visitor conditions for every property and operator.
- Event conditions for counts, windows, and event property filters.
- Recipes for worked configurations you can copy.
- Syncing to destinations to set up the daily send.
Need help? Contact support@oursprivacy.com.
How is this guide?